

Overview
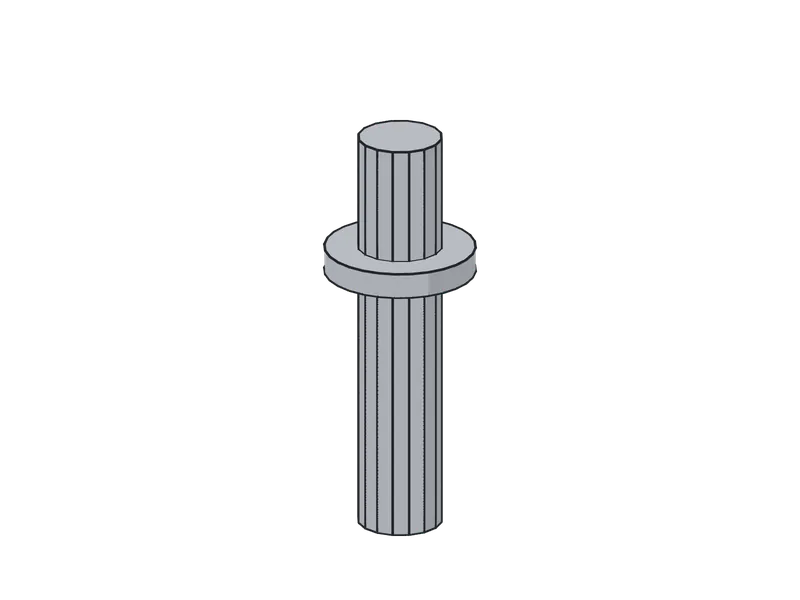
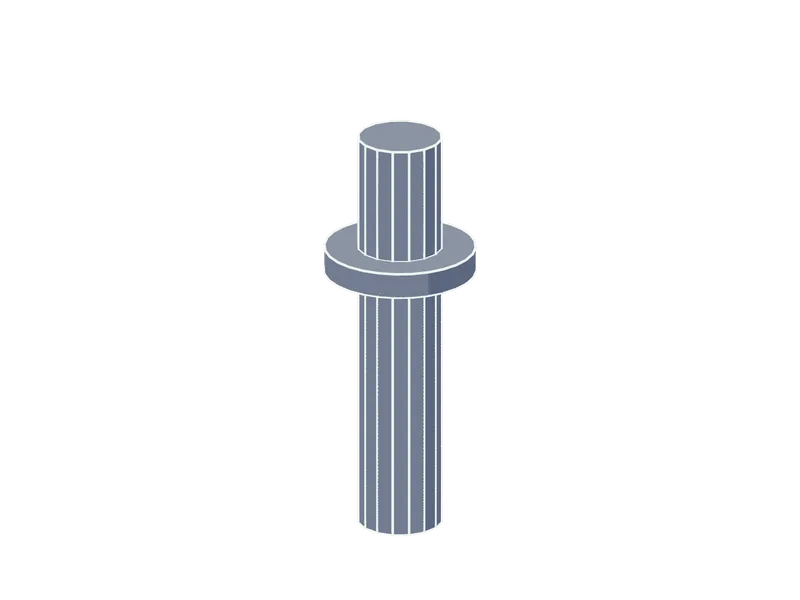
A shelf pin is a short peg with a flange or shelf-support shoulder. It is pushed into a bored hole in the side of a case, and the shelf rests on top of it. Rows of holes drilled at a regular pitch give a shelf that can be moved without tools. Pins are the cheapest way to make a shelf adjustable and for the best-looking result are metal pins with a right-angle shoulder.
Types and sizes
- Straight pin with a flat shoulder: the common one.
- Spoon pin with a wider bearing surface.
- Locking pin with a clip or a screw that stops a shelf lifting or tipping.
- Glass-shelf pin with a rubber or clear plastic pad.
Bore diameter is set by the pin: 5 mm (3/16 in) is standard on frameless cases; 1/4 in (6.35 mm) is common in older US shop-built cases. Hole depth 10 to 13 mm (3/8 to 1/2 in).
Where it is used
Adjustable shelves in bookcases, cabinets and kitchen units. No period style guide names them, since early furniture used fixed or notched shelves; they suit contemporary and workshop pieces.
Choosing and sizing
Match the pin to the shelf weight: a long book shelf wants steel pins, four per shelf (one at each corner). Shelf thickness should be at least 19 mm (3/4 in) for spans up to 750 mm (30 in) in plywood or solid wood; thinner shelves sag.
Installation
- Drill the holes in each side with a template or jig so the rows match exactly and at the same height on both sides of the case.
- Place the first row about 37 mm (1-1/2 in) from the front edge and 37 mm in from the back edge, and set the rows 32 mm (1-1/4 in) apart (the 32 mm system), using a dedicated brad-point bit and a depth stop at 12 mm.
- Drill from the inside face of a side before the case is assembled; use a stop collar to keep depth even, and a backing scrap to prevent blow-out.
- Push the pins home by hand; they should be snug and not need glue.
Wood movement and species
Holes bored in a solid-wood side lose a few tenths of a millimetre diameter as the side shrinks, which makes a pin looser in dry seasons. Plywood and veneered boards hold the holes better. Particleboard and MDF have poor edge and face holding for small pins under heavy load, so use sleeves or a metal bush.
Common mistakes
- Misaligned rows: the shelf rocks. Drill both sides with the same jig, not by eye.
- Holes too deep: they weaken thin sides; use a depth stop.
- Pins too small for a heavy shelf: they bend or crush the board.
Related
- Threaded insert: a metal bush for a harder-wearing socket.
- Corner brace: where a shelf must be fixed, not adjustable.
Suitable for
Fixes into: hardwood, softwood, sheet, engineered.
Poor choice in
The reasons are in the wood movement and species section above.
Sources
Updated 2026-10-03. Sizes and ratings are typical trade figures drawn from the sources above. A load rating is the maker's rating for one product, not a property of the type: check the maker's own sheet, and test a fit on scrap before cutting good wood.